

Spray Column Fabrication Essential Methods and Material Selection
2026-08-27
When it comes to spray column fabrication, the choice of methods and materials can make or break performance—yet many engineers still overlook critical trade-offs between corrosion resistance, structural integrity, and long-term maintenance. How do you select the right welding technique or surface treatment without over-engineering the cost? In this post, we’ll unpack the essential fabrication methods and material selection criteria that separate a dependable spray column from a costly failure. Drawing on real-world insights, Sinou helps demystify the process, offering practical guidance from material grades to quality control. Whether you’re designing for aggressive chemical exposure or high-purity applications, understanding these fundamentals is your first step toward a robust, efficient system. Let’s get into the details that matter.
Material Grades That Survive Aggressive Spray Chemistry
When spray systems push acids, chlorinated solvents, or oxidizing agents through nozzles and fittings, standard 316 stainless quickly shows pitting and stress corrosion cracking. The grades that hold up tend to be high-nickel alloys like Hastelloy C-276 or C-22, which resist both reducing and oxidizing conditions without the crevice attack that plagues lower alloys. In less extreme but still corrosive streams, super duplex stainless (e.g., 2507) balances cost with strong chloride pitting resistance, though it can struggle in hot, strong hydrochloric acid.
For polymer-based spray components, PVDF and PTFE are the usual survivors. PVDF handles most mineral and organic acids up to roughly 120°C and offers better mechanical strength than PTFE, but it will soften or swell in strong bases and certain polar solvents. PTFE remains essentially inert across the entire pH range and handles almost any spray chemistry, though its cold-flow tendency means it needs careful support in threaded or clamped joints. PEEK occupies a middle ground—outstanding chemical resistance plus rigidity, but the price limits it to smaller, high-value parts.
Beyond base alloy or polymer choice, grade-specific variants matter just as much. Low-carbon versions (316L, 2205) reduce sensitization in welded areas, and electropolished surfaces remove microcrevices where aggressive droplets linger. The real differentiator is matching the grade to the exact spray chemistry, including temperature, concentration, and whether the system sees intermittent wet-dry cycling that concentrates corrosive salts.
Welding Methods for Leak-Proof Column Shells
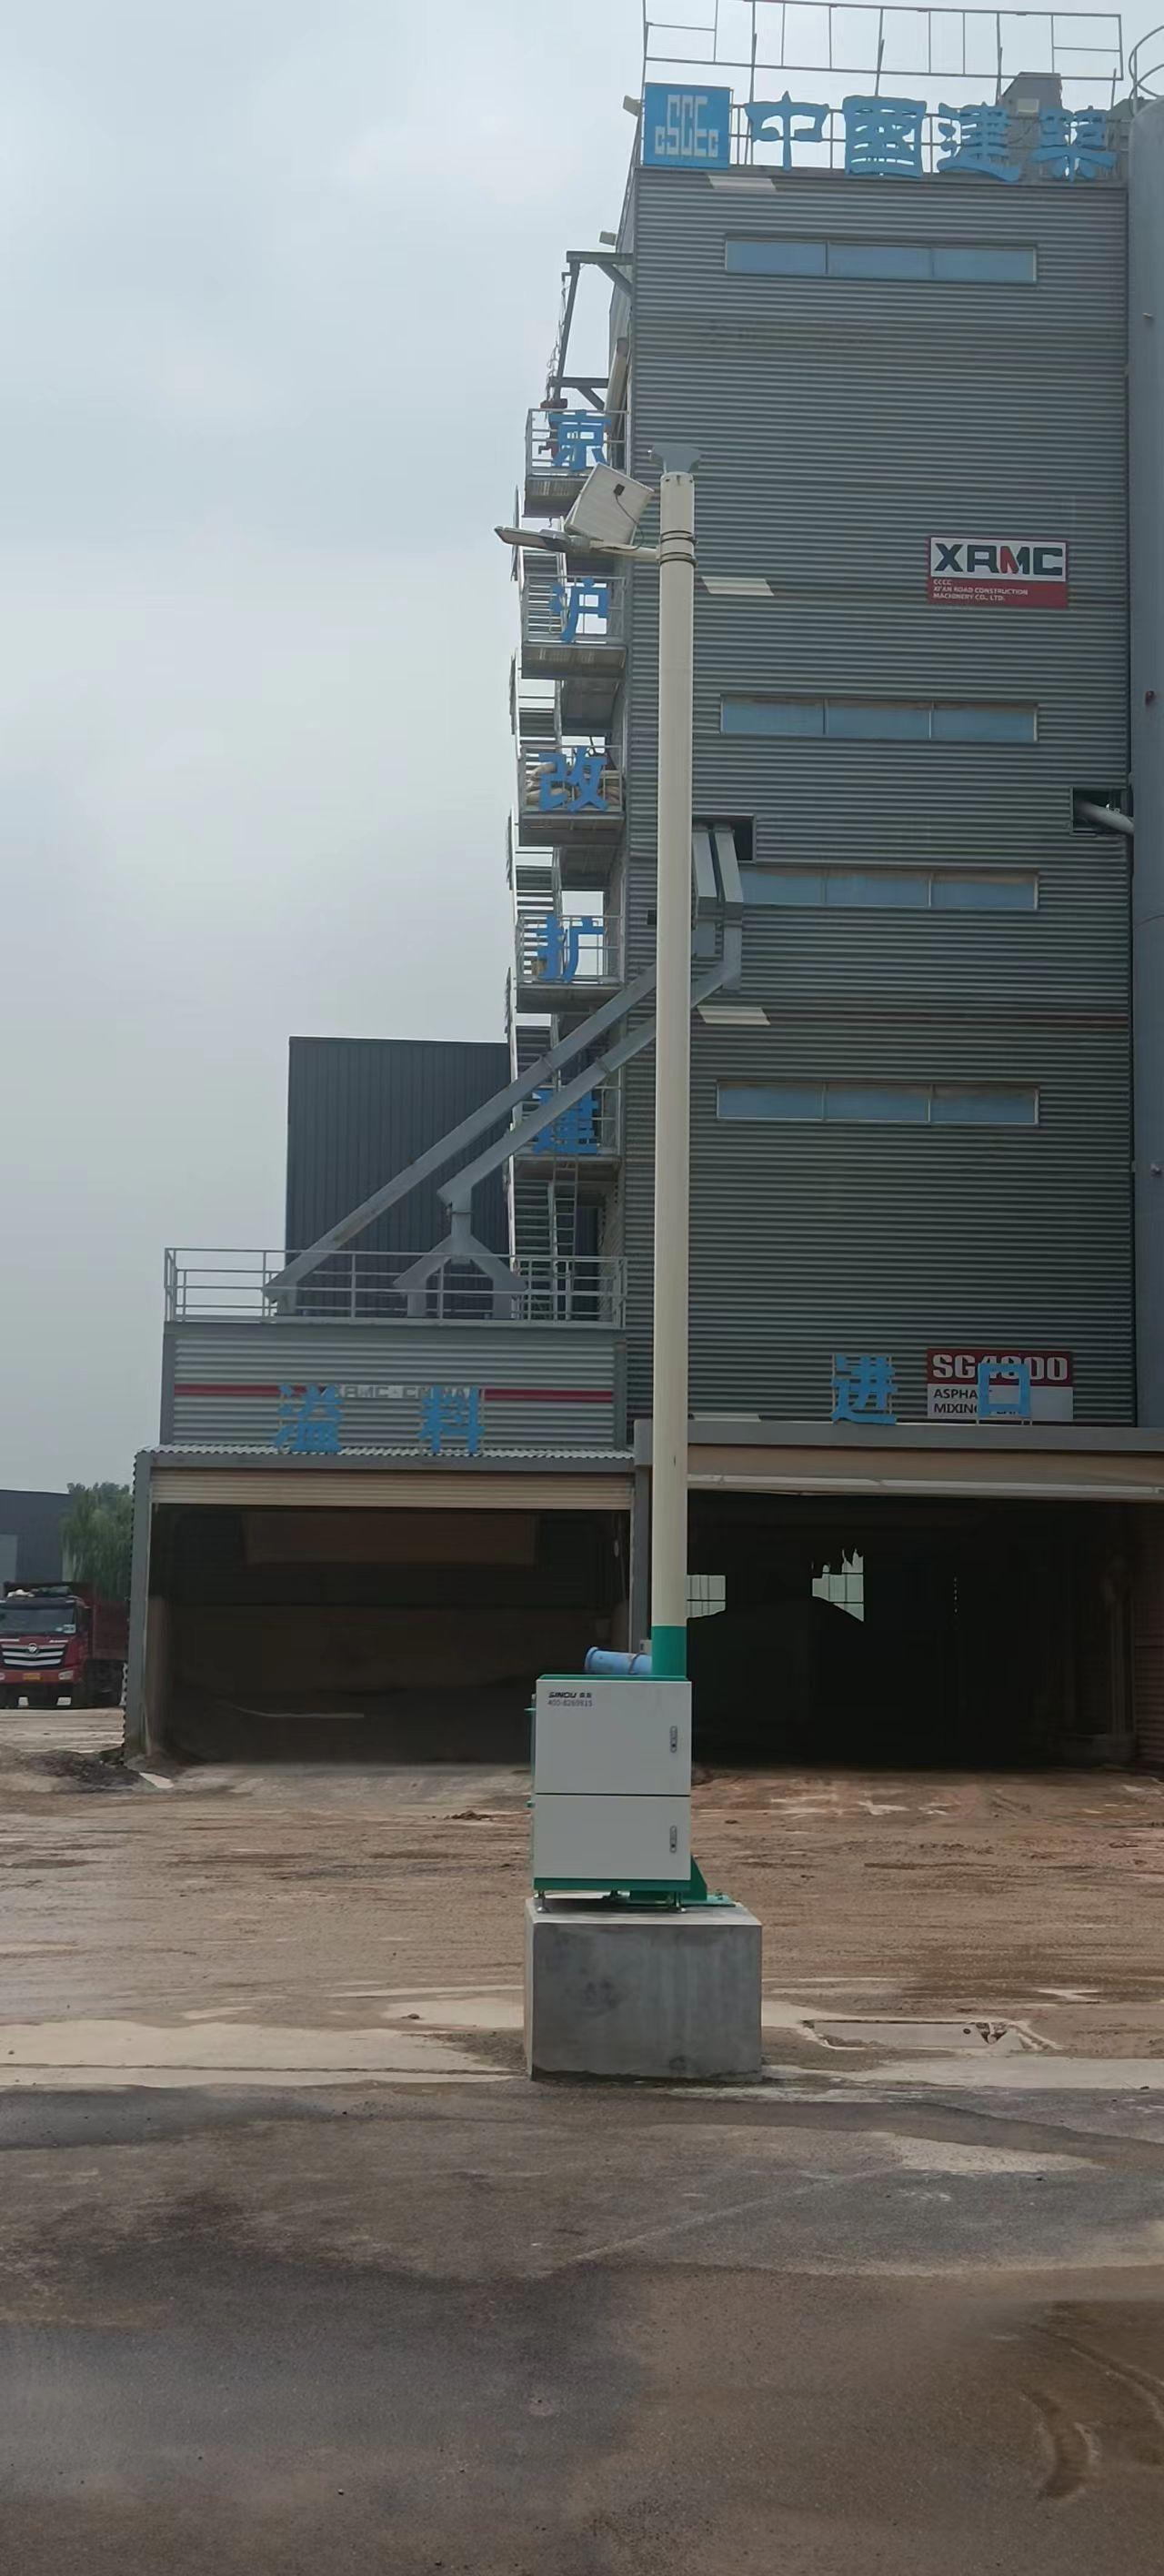
Achieving a leak-proof column shell starts with joint prep and root pass discipline rather than relying on filler metal alone. On carbon and stainless columns, a TIG root with argon backing or purge dams gives a clean, fully penetrated bead that resists pinholes and suck-back. For long vertical seams, keep the arc length short and travel speed steady; weaving beyond two electrode diameters invites slag traps and incomplete fusion at the toes. Stainless grades benefit from interpass temperature below 150°C to avoid carbide precipitation and distortion that can open micro-leaks after pressure cycles.
Fill and cap passes often shift to stick or flux-core wire for productivity, but leak integrity still hinges on how each pass ties in. Chip or brush every pass, and stagger stop-starts so crater cracks cannot line up through the shell thickness. For thick-walled columns, a balanced weld sequence from both sides of the seam counters shrinkage and keeps root gaps closed. Before hydrotesting, a visual check for undercut and a dye penetrant or vacuum box test on the root side catches the small defects that later show up as weeping joints under load.
Internal Coatings and Liners: When to Choose Each Option
Selecting between an internal coating and a liner often comes down to how the vessel will be used and what kind of stress the interior surface will face. Coatings are typically applied as a liquid or powder and cured to form a thin, bonded film—ideal when you need corrosion resistance or a smooth, cleanable surface without taking up much internal volume. Liners, on the other hand, are pre-formed or field-installed sheets or shells that create a separate protective layer, which can be replaced or upgraded more easily if the service conditions change. If the operating temperature, chemical exposure, or abrasion is moderate and you want a low-profile solution, a coating usually wins. For severe wear, high impact, or the need for thermal insulation, a liner makes more sense because it can absorb mechanical abuse without compromising the structural shell.
Another factor is maintenance and repair. A damaged coating often requires stripping the entire surface and reapplying, which means downtime and careful surface preparation. Liners can sometimes be patched or sectionally replaced without disturbing the rest of the system. In many cases, the decision hinges on initial cost versus lifecycle cost: coatings are cheaper upfront but may need reapplication every few years under aggressive conditions, while a well-chosen liner can last decades with minor repairs. Pay attention to geometry as well—complex shapes with tight corners are easier to coat uniformly, whereas liners are better suited for straight runs, large tanks, or areas where welding or mechanical fastening is practical.
Don't overlook the interface between the substrate and the protective system. Coatings rely on strong adhesion; any surface contamination or moisture can lead to blistering or disbondment. Liners, especially those that are mechanically attached or loose-fit, can tolerate some substrate movement or thermal expansion without failing. However, liners often require an anchoring system or a bonding adhesive, which introduces its own inspection points. The best approach is to evaluate a few candidate materials side by side under your actual operating conditions—immersion tests, temperature cycling, and abrasion coupons will tell you more than any datasheet. Remember that neither option is universally superior; the right choice depends on the specific balance of cost, service life, inspection needs, and ease of replacement.
Distributor Plate Design for Uniform Liquid Flow
Distributor plate design starts with mapping the liquid load across the tower cross-section. A uniform flow requires that the number of drip points, hole size, and pitch be matched to the local liquid velocity, not just the average. Many designs fail because they place identical holes over the entire plate, ignoring the fact that liquid tends to accumulate toward the center in packed beds. Including a slight dishing or using graduated hole diameters from center to edge can compensate for this maldistribution.
Hole sizing is typically based on a target Reynolds number to keep the liquid in the dripping rather than jetting regime. For aqueous systems, 3-5 mm holes with a pitch of 25-40 mm often work, but this changes with viscosity and surface tension. The plate must also provide enough pressure drop—usually around 25-50 mm water column—to overcome small level differences. Too little pressure drop and the liquid seeks the lowest point; too much and you waste energy and risk entrainment.
Materials and edge detailing get overlooked. A sharp-edged hole tends to have more consistent discharge than a laser-cut hole with a slight radius, especially at low flow rates. Adding drip tubes or notches on the underside can further stabilize the flow path. During commissioning, a water test with dye or conductivity mapping across the plate can reveal dead zones that would otherwise go unnoticed in performance calculations.
Testing Every Seam Before the Column Leaves the Shop
In the fabrication bay, each welded seam on a column gets looked at like it's the one that has to hold up a roof deck full of snow. The practice isn't a quick glance; we run a finger along the bead, check the root pass for undercut, and follow with ultrasonic or magnetic particle testing depending on the joint configuration and the service load. If a seam doesn't meet the WPS, it's ground out and redone before the column ever sees a truck.
The reason this happens in the shop instead of on site is simple: controlled conditions. Out in the field, wind, dirt, and awkward positioning make it hard to get a clean weld, let alone test it properly. Inside, the column can be rotated, the temperature can be kept steady, and the inspector can actually reach every side of the flange-to-web connection without hanging from a harness. That's why we don't "trust but verify" at the end—we verify each seam as it's completed, so a bad weld never gets buried under paint or fireproofing.
There's also a paper trail that follows the column. Each seam gets a unique identifier, and the test results—whether it's a UT report or a dye penetrant sheet—are logged against that number. If a question comes up years later, someone can pull the file and see exactly what was checked, when, and by whom. That kind of traceability matters more than a stamp on a drawing; it's the difference between a column that's been tested and one that's just been assumed good.
Field Assembly Tricks That Keep Tolerances Tight
Start with alignment pins before you torque anything down. Even a few thousandths of movement during bolt-up will stack into a visible gap. Use temporary dowels or shoulder screws to lock two halves together, then run your fasteners in a crisscross sequence at 70% torque, re-check alignment, and only then pull to full spec. That pause catches most of the drift that normally shows up after the job is done.
Temperature is the silent tolerance killer in the field. A part machined in a cool shop will grow in the sun, and two components that don't share the same ambient temperature will never seat correctly. Let everything normalize side by side for at least an hour, and if you're working outdoors, keep a hand on the metal to judge relative warmth. A few minutes of waiting beats chasing a 0.002-inch mismatch all afternoon.
After final tightening, verify with simple tools instead of trusting the wrench. Slide a set of feeler gauges around the joint at three or four points, and use a dial indicator on a magnetic base to check for face runout while the assembly rotates or shifts. If you find a tight spot, loosen only the nearest two bolts, tap gently with a soft-faced mallet, and retorque. That final tap-and-measure loop closes the gap that torque alone leaves open.
FAQ
Roll bending and longitudinal welding dominate for cylindrical shells, while heads are typically dished and flanged. Some shops prefer flanged and bolted sections when the column needs frequent internal access or cleaning, but continuous welded construction offers better leak tightness for aggressive fluids.
It depends heavily on the process chemistry. Stainless steel 316L is a default for many mild corrosive services, but if chlorides are present you might move to duplex or even Hastelloy. For highly acidic conditions, PTFE-lined carbon steel or solid polypropylene can be more economical than exotic alloys.
You need to look beyond corrosion resistance. Abrasion becomes the controlling factor, so rubber-lined steel, ceramic-filled epoxy coatings, or even tungsten carbide tiles in high-wear zones are common. Hard-facing the spray nozzle areas can significantly extend service life.
For most chemical duty, a 2B mill finish with pickled and passivated welds is adequate. If the column is used in food, pharmaceutical, or ultra-pure processes, you'll often see a mechanical polish to 0.8 µm Ra or better, plus electropolishing to remove surface iron and improve cleanability.
Yes, wind and seismic loads often control the shell thickness more than internal pressure. Circumferential stiffeners may be added to prevent ovality during lifting and transport. Also, the base ring and anchor bolt design must be checked for overturning moments, not just weight.
Access is the main reason. If you anticipate regular inspection, packing changes, or internal modifications, bolted sections let you open the column without cutting and rewelding. The trade-off is more gasket surfaces and potential leak points, plus higher fabrication cost for the flanges.
Nozzle mounting pads are usually welded on the shell before internal lining or coating. The nozzle itself is then threaded, flanged, or bayonet-mounted from the inside. The pad thickness and reinforcement must be calculated to avoid distortion, and the opening should be located away from weld seams.
It's often required for thick carbon steel sections to relieve residual stresses and reduce the risk of stress corrosion cracking. For stainless columns, solution annealing may be needed after heavy forming to restore corrosion resistance. However, for thin-walled columns in non-critical service, PWHT is frequently skipped to save time and cost.
Conclusion
Building a spray column that holds up under aggressive chemistry starts with choosing alloys that resist pitting and stress corrosion, not just the cheapest stainless on the shelf. Duplex grades often earn their place when chloride levels climb, while high-nickel alloys make sense for hot acid service. Welding those shells demands more than a standard bead; purge gas on the root side, controlled heat input, and full-penetration joints keep the inside smooth and free of crevices where corrosion can start. Once the shell is welded, internal protection becomes a case-by-case call. A baked phenolic lining may handle moderate acid fumes, but if the spray contains abrasive solids, a rubber or fluoropolymer liner often outperforms a thin coating.
The distributor plate is where many columns succeed or fail. Drilling uniform orifices is not enough; you need to calculate hole pattern, pressure drop, and weep points so liquid spreads evenly across the packing or trays. Before the column ever leaves the shop, every seam should be checked with dye penetrant or radiography, and a hydro test at 1.5 times design pressure catches leaks that visual inspection misses. Field assembly is the last place tolerances can drift. Using match marks, torque-controlled bolting, and laser alignment on flanges helps keep the shell plumb and internals level, which makes the difference between a column that distributes well and one that channels flow straight to the wall.
Contact Us
Contact Person: HaiYan
Email: [email protected]
Tel/WhatsApp: +86 18957325588
Website: https://www.senyoubeton.com/